How to Fix a Collapsed Heel Collar
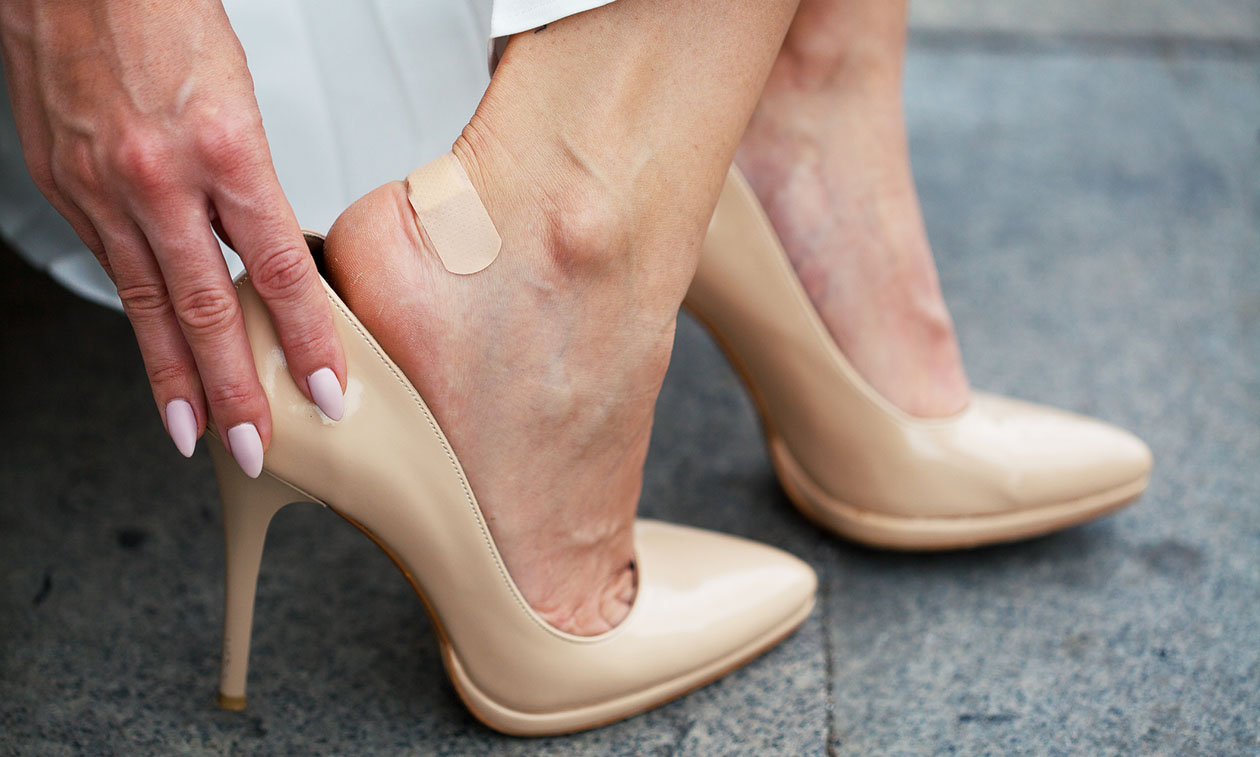
Over time, this can result in blisters, calluses, and even more serious issues like heel pain or plantar fasciitis. Additionally, the instability caused by the collapsed heel collar can affect your gait, potentially leading to strains or injuries in your ankles, knees, and lower back.
Some signs that you’re dealing with a collapsed heel collar include a noticeable flattening or squashing of the heel area, a loose or sloppy fit around your ankle, and increased friction or rubbing that leads to blisters.
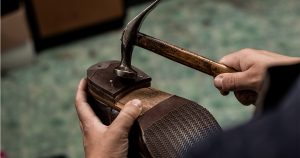
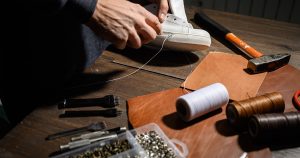
Although it may seem like giving away your shoes or throwing them away is the ideal solution, collapsed heel collars are often easily repairable. You can either opt to get it repaired by professional cobblers or try some DIY fixes at home.
By choosing to repair it, you are not only saving money but also contributing to the reduction of landfill waste.
Here Are Some DIY Tips On How To Fix A Collapsed Heel Collar
Using Shoe Inserts
Shoe inserts are removable pads or insoles typically used to improve support and comfort. They are mainly used for athletic shoes to provide better cushioning during high-impact activities, helping to prevent injuries and enhance performance. However, they can also be used on other types of shoes, such as casual sneakers or dress shoes.
Shoe inserts help fix a collapsed heel collar by adding structural support to the affected area. There are two different types of shoe inserts you can use to fix a collapsed heel collar:
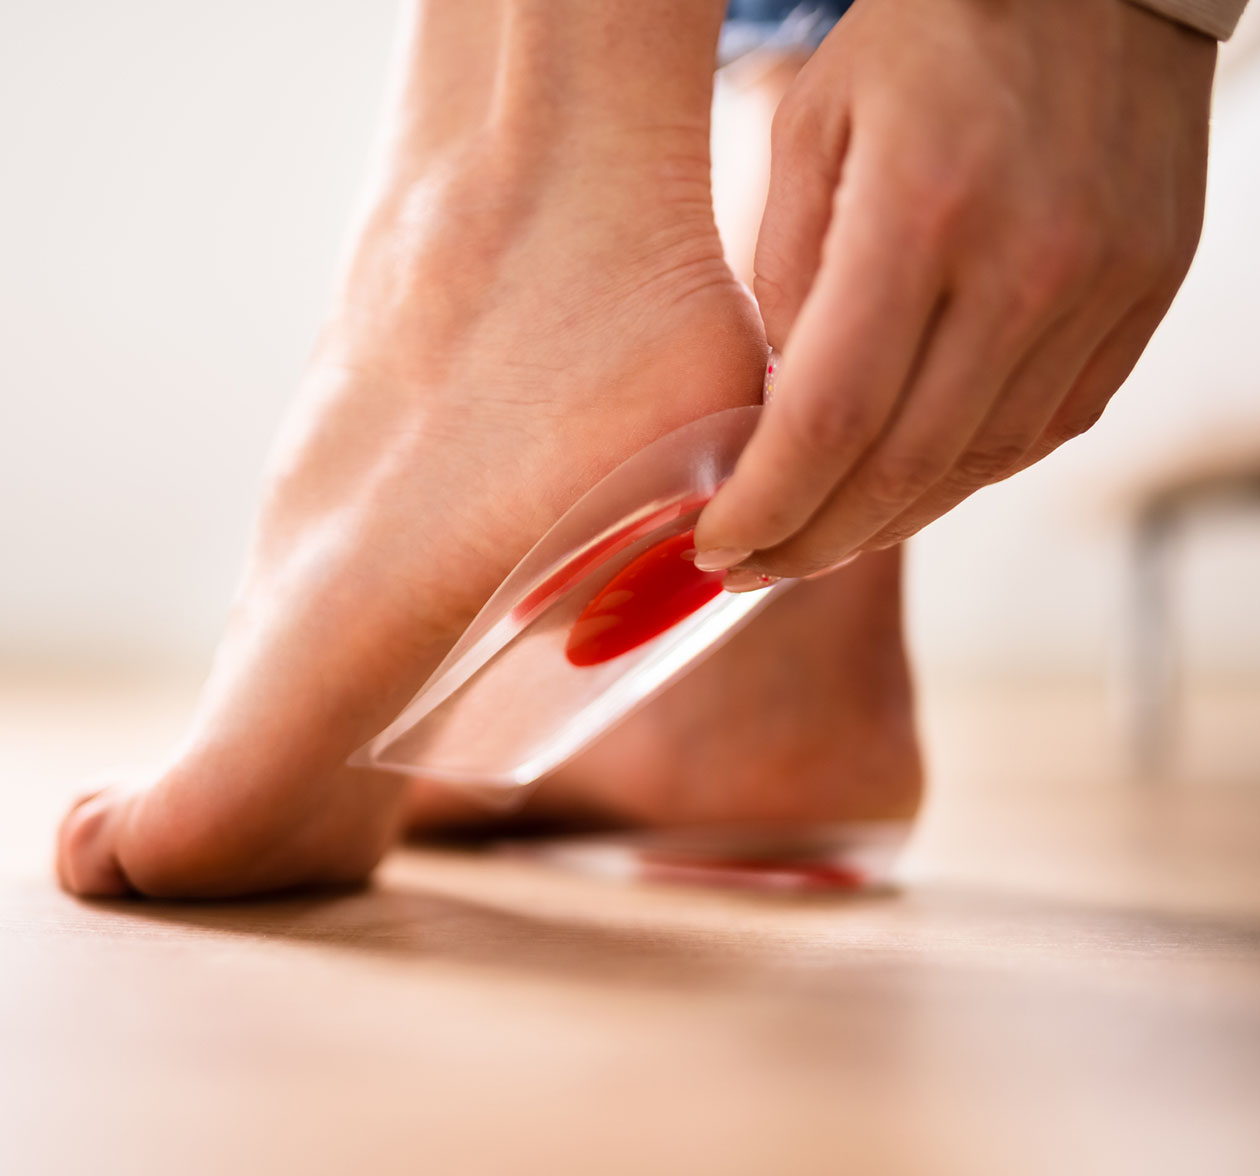
Heel Pads
Heel pads are gel or foam inserts designed to fit inside the heel area of your shoe. They offer extra cushioning and support, helping to alleviate discomfort caused by a collapsed heel collar.
How to Use Heel Pads:
- Make sure your shoes are clean first to avoid any dirt or debris interfering with the placement of the pads.
- Insert the heel pads into the heel area of the shoe, ensuring they are aligned properly.
- If the pads come with an adhesive backing, peel it off and press the pads firmly into place.
- Wear the shoes to ensure the pads fit snugly and provide the desired comfort.
- Adjust as needed to achieve the best fit.
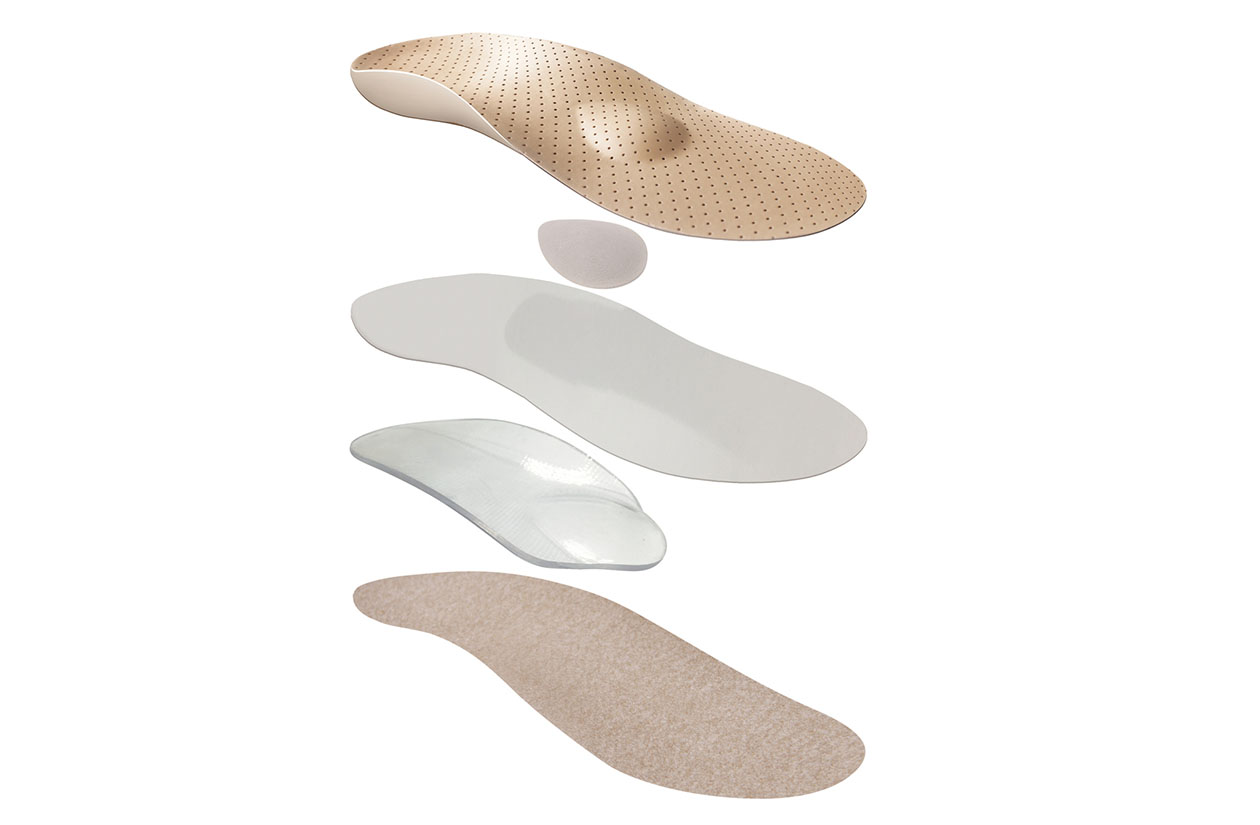
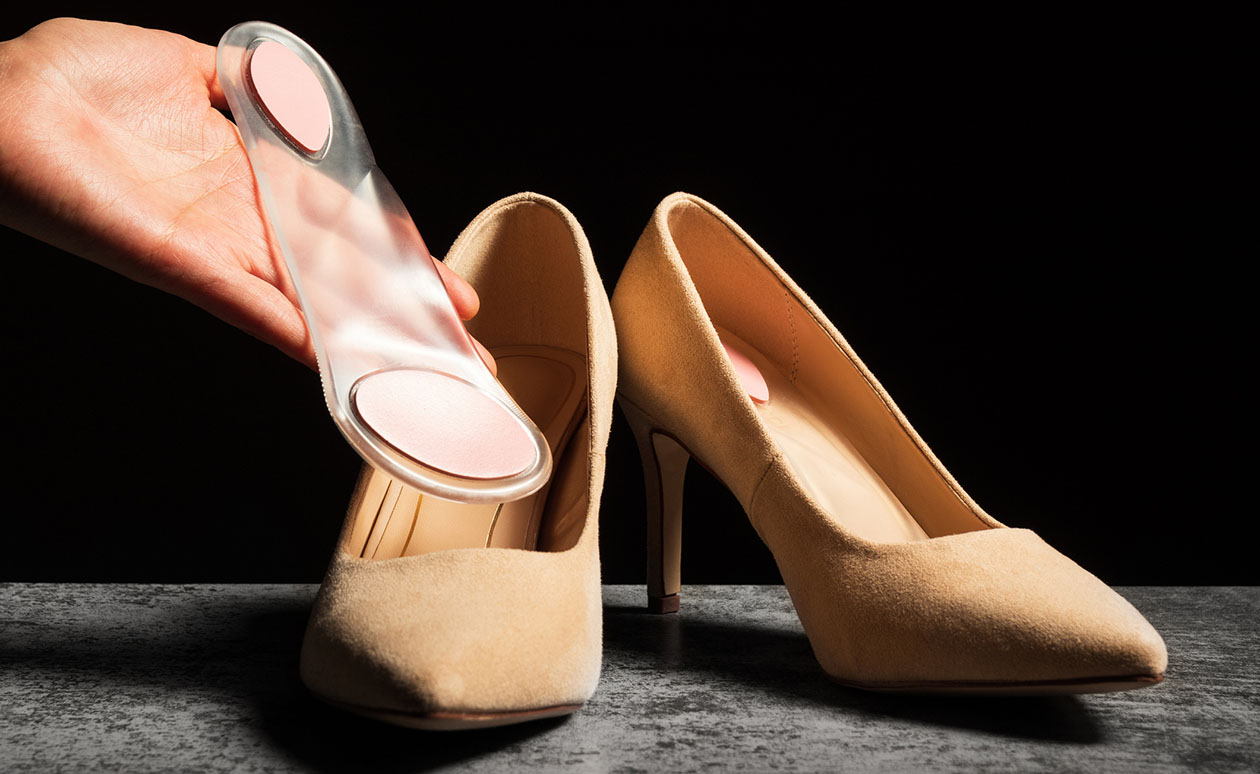
Orthotic Inserts
Orthotic inserts are custom-made or over-the-counter insoles designed to provide enhanced support and stability for the entire foot, including the heel. They are often used to correct foot alignment and improve overall shoe structure, but they can also be used as a solution for a collapsed heel collar.
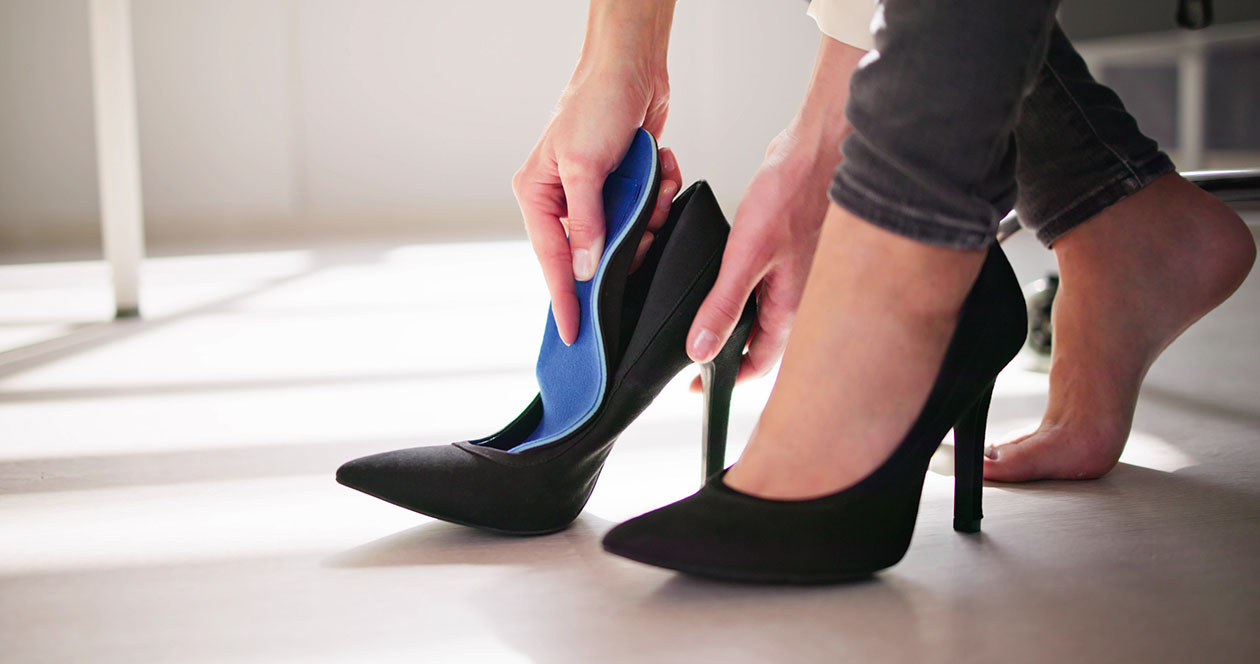
How to Use Orthotic Inserts:
- Determine whether you need custom-made orthotics (from a podiatrist) or over-the-counter inserts.
- If your shoes have removable insoles, take them out to make room for the orthotic inserts.
- Some over-the-counter orthotics may need to be trimmed to fit your shoe size. Follow the manufacturer’s instructions for trimming.
- Insert the orthotic insoles into your shoes, ensuring they are properly positioned and lie flat inside the shoe.
- Put on the shoes and walk around to test the fit and comfort. Adjust them as needed.
Applying Adhesive Heel Supports
Adhesive heel supports, such as heel liners and heel cups, are effective solutions for reinforcing a collapsed heel collar. These supports are designed to provide additional structure, cushioning, and stability to the heel area, improving the fit and comfort of your shoes. There are two types of adhesive heel support you can use:
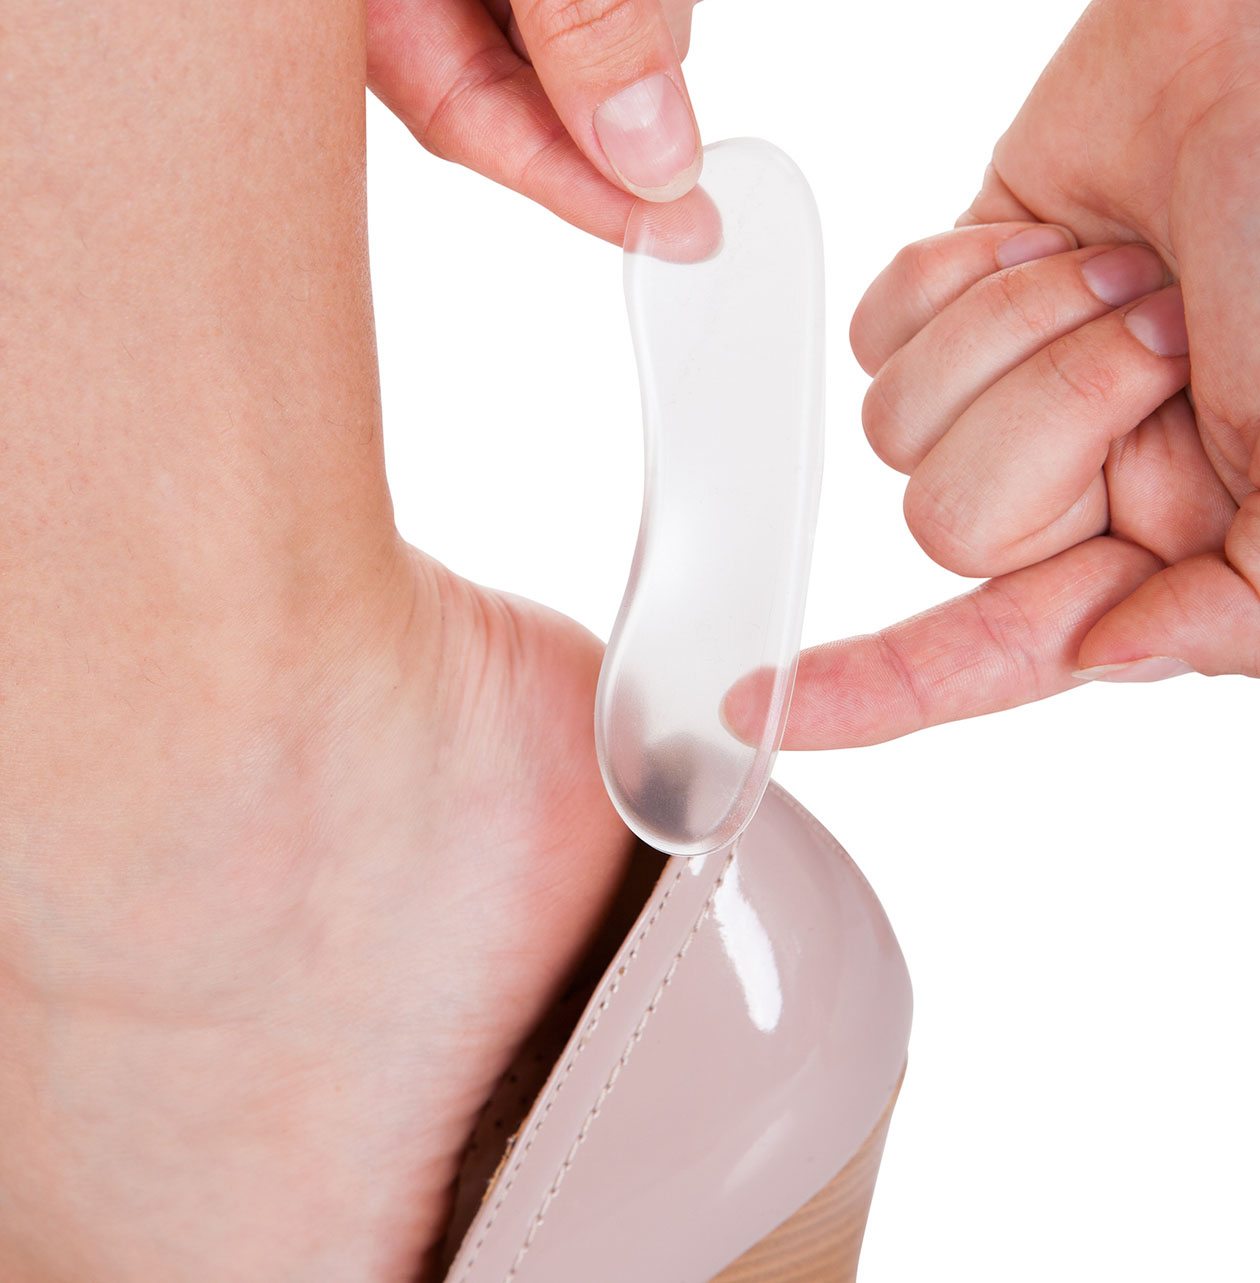
Heel Liners
Heel liners are thin, adhesive-backed inserts that stick to the inside of the heel area in your shoes. They are typically made of soft materials like foam, gel, or leather and are designed to provide extra cushioning and support.
To use heel liners, simply peel off the adhesive backing and press them firmly into the heel area of your shoes. Make sure they are positioned correctly to cover the area where you need the most support. Once in place, put on your shoes and walk around to ensure they are comfortable and secure.
It’s relatively easy to use heel cups as you just need to peel off the adhesive backing and place them inside the heel area of your shoes. Make sure they are positioned correctly to provide maximum support. Press firmly to secure them in place, then put on your shoes and walk around to ensure they are comfortable and properly aligned.
Heel Cups
Heel cups are cup-shaped inserts with adhesive backing that fit into the heel area of your shoes. They are designed to cradle the heel, providing additional support and cushioning, which helps to restore the shape and function of the collapsed heel collar.
It’s relatively easy to use heel cups as you just need to peel off the adhesive backing and place them inside the heel area of your shoes. Make sure they are positioned correctly to provide maximum support. Press firmly to secure them in place, then put on your shoes and walk around to ensure they are comfortable and properly aligned.
Reshaping with a Heat Gun
Using a heat gun to reshape a collapsed heel collar is an effective technique that involves applying heat to soften the material, making it easier to mould back into its original shape.
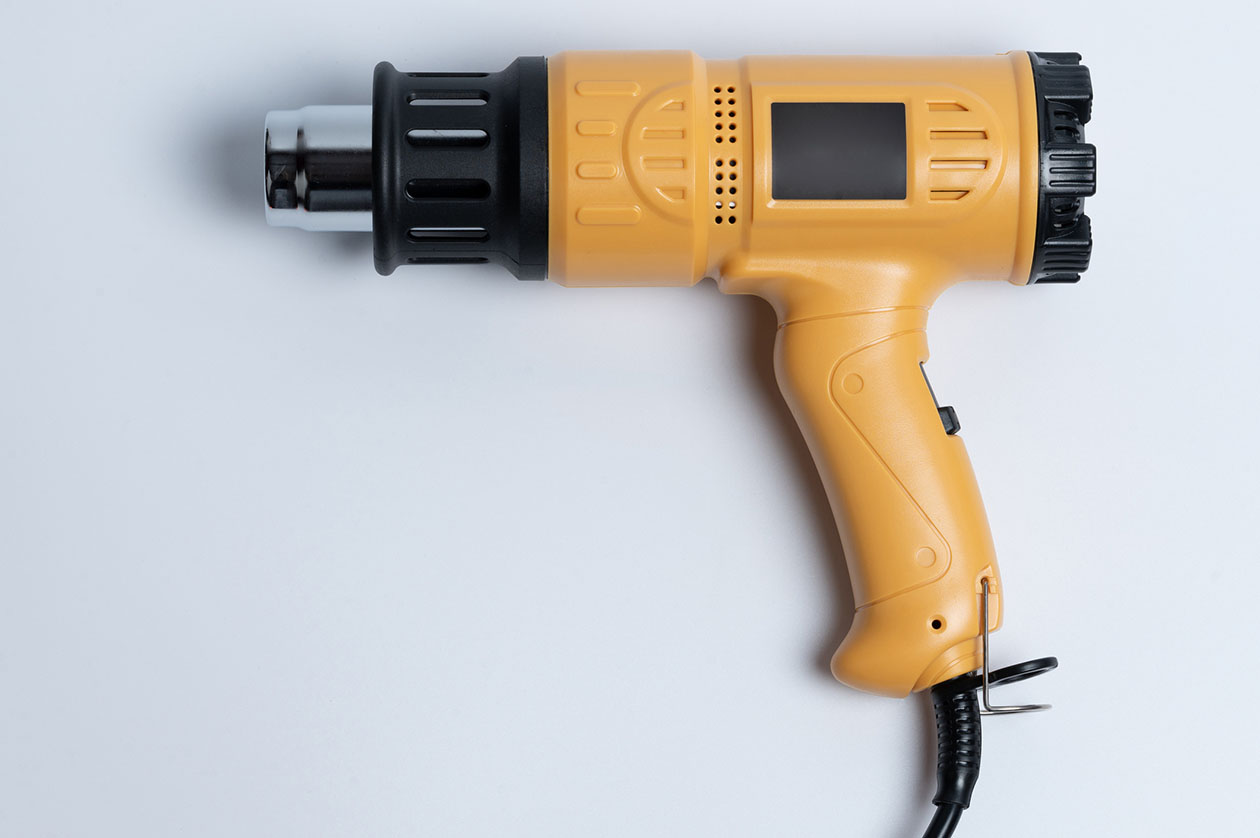
This method works particularly well for shoes crafted from synthetic materials or leather, which become flexible when heated.
To do this method, you’ll need the following materials:
- A heat gun
- A shoe stretcher with a heel attachment (optional)
- Protective gloves
- A damp cloth
How to Reshape a Collapsed Heel Collar with a Heat Gun:
- Make sure to set the heat gun on low to medium setting as extremely high temperatures can damage your shoe’s material.
- Hold the heat gun about 6-8 inches away from the heel collar and move it in a circular motion to evenly distribute the heat.
- Continue heating for 1-2 minutes or until the material becomes soft and pliable. Be careful not to overheat, as this can cause permanent damage to the shoe.
To reshape your shoes, you can follow any of these two methods:
- Manual Reshaping: Put on protective gloves to avoid burns. Gently manipulate the softened heel collar with your hands, pressing and moulding it back into its original shape.
- Using a Shoe Stretcher: If you have a shoe stretcher with a heel attachment, insert it into the shoe and adjust it to apply pressure to the heel area. This tool can help achieve a more uniform shape and ensure the heel collar is properly supported.
Let Your Shoes Cool & Inspect Them
- Once you have reshaped the heel collar, allow the shoe to cool naturally while maintaining its new shape.
- You can use a damp cloth to gently press against the reshaped area, helping it cool and set faster.
- After the shoe has cooled and hardened, inspect the heel collar to ensure it has retained its shape.
Final Takeaways
It’s important to note that these methods are only temporary fixes, and it’s still best to get an expert cobbler to properly repair your shoes for long-lasting results.
Our professional cobblers at Love Your Shoes ensure that your shoes are restored to their original condition, no matter the brand and type of shoe you own. From high-end designer heels to everyday sneakers, we use premium materials and expert techniques to deliver results that exceed your expectations.